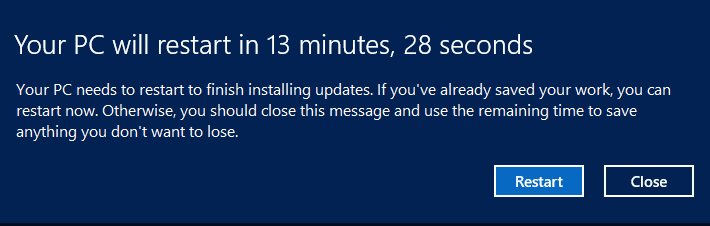
Windows will restart your computer automatically if an update requires it. It's your computer, you shouldn't have to worry about someone turning it off unexpectedly. This app will stop Windows from auto-restarting and put "reboot control" back in your hands.
will prevent automatic reboots.
Automatic Reboot Horror Stories!
- "Last night I left my computer on to render my video project for a client. When I woke up I saw Windows has updated itself and restarted the PC in the middle of the render. I missed a deadline that is costing me money. And worse than that, I'm probably losing a client."
- "My PC was running intense calculations of photometric scan data. It had been running for hours... then windows update just decides to install an update and reboot my machine, losing hours of work. Its ****ing ridiculous."
- "Mine rebooted yesterday in the middle of my work day, while I was giving a presentation to our largest client, very embarrassing!."
- "My security/DVR system is on Windows 10. It and stops recording when it reboots."
- "I keep my alarm on a Windows 10 desktop because when it's hooked up to my speakers, it's way louder than my phone or anything else. Last night while I slept, Windows updated, rebooted and waited for me to login, which completely canceled hearing my alarm, making me miss an important meeting at work."
- "I was 90% finished with a live recording of a 24 piece big band when Windows decided to reboot, I lost all my live tweaks and fader settings, had to start over!"